This site is used for recording and to share the modifications which I have done to my Suzuki Swift Sport 1.6M.
All modifications are made according to my personal preferences and not advertising for any workshop or any brands.

Saturday, November 17, 2012

I am a SpeedHunter too!

After a long wait due to poor delivery service from TNT
Love the material and colour
 And of course the prints =)


Sunday, November 4, 2012

Painting of brake calipers

Another DIY project on my SSS. It was a whole day event which took me about 5hrs to complete.
I did it on my Swift before hence it's not a new thing for me just that I have additional 2 calipers to paint =)

Step 1: removing the rims
How: UN-torque the lug nuts before jacking up the car. Had 2 jacks to jack up the front portion of the car to access to the front wheels at the same time
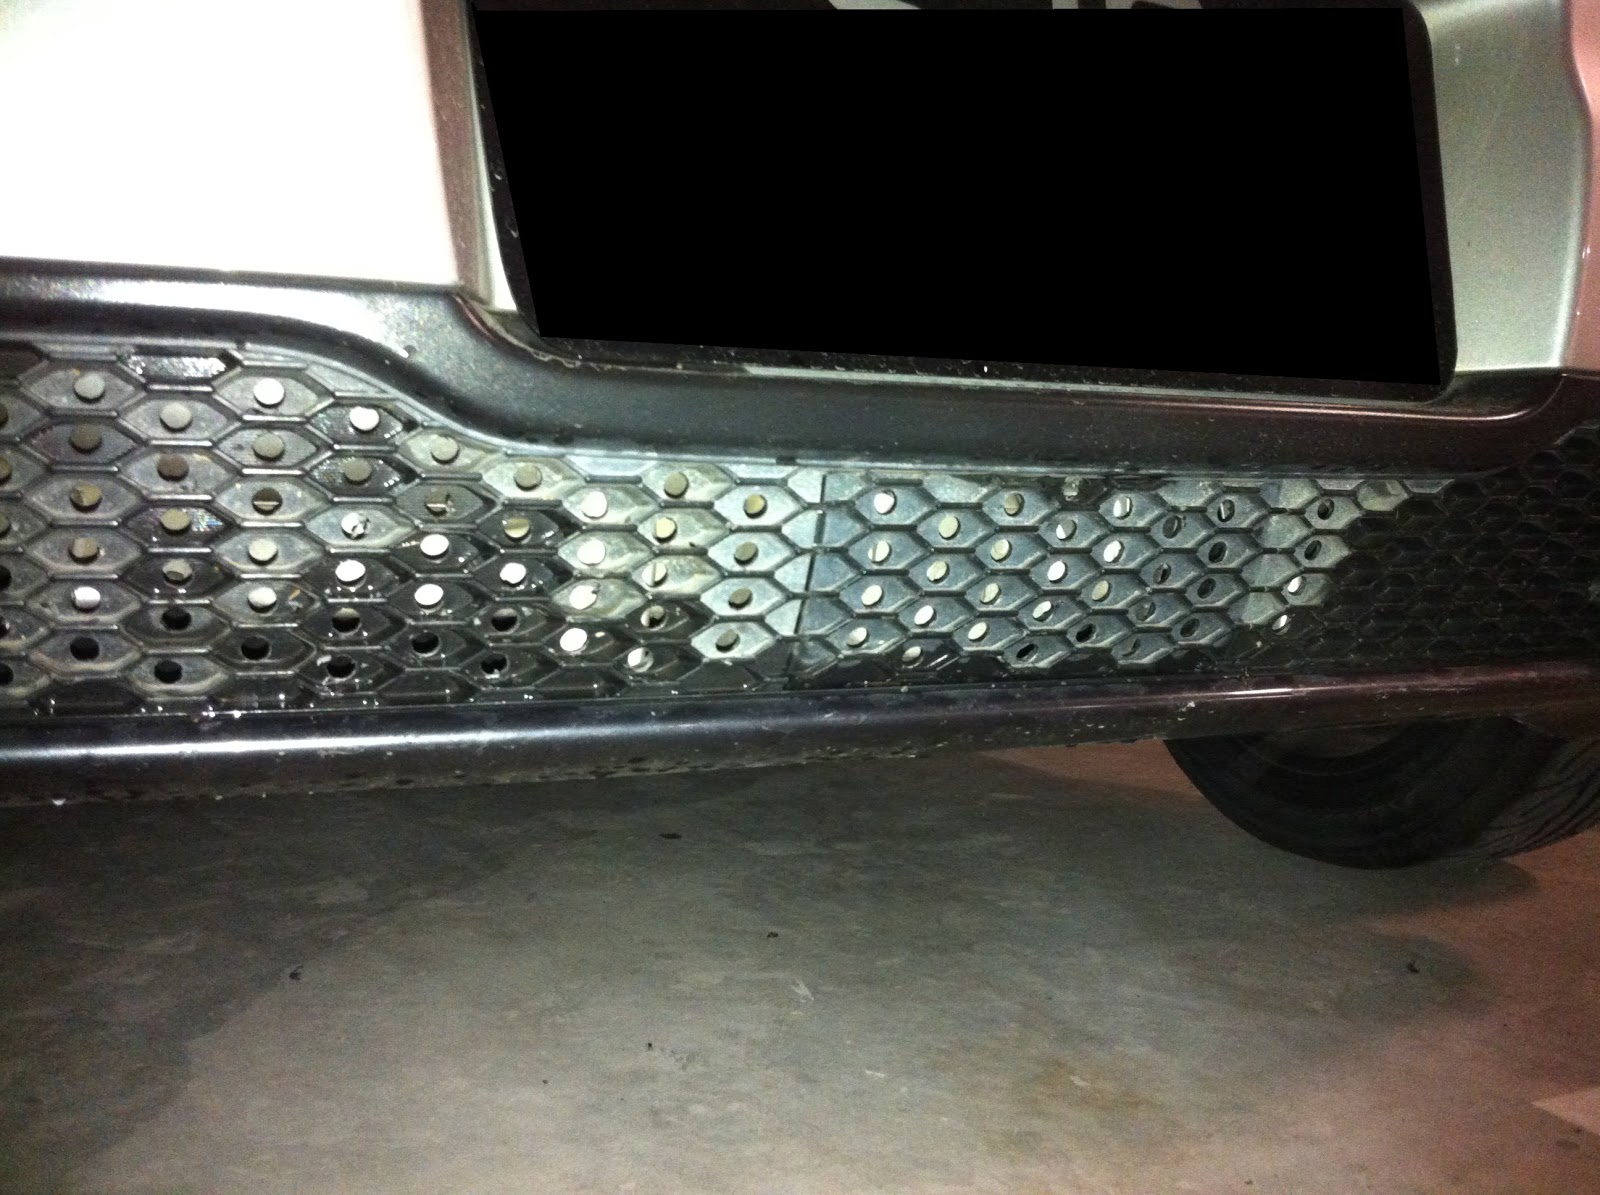
Step 2: Cleaning and drying
How to: cheap way is to use Mama Lemon dishwasher & a sponge to clear the leftover brake dust and dirt
Cleaning on the LHS front calipers
Make sure it's really cleaned and dry before applying the paint
Since I have easy access now, why not wash the ARB and brake hose
And the circuit stroke as well
The cleaning for the front itself took me almost an hour as I really wanna do a good job
 Step 3: Painting the front calipers
What you need: High temp paint, medium brush, small brush
Optional: Masking tape, newspaper, thinner
How to: Apply 3 thin layers of paint
Base, Main and Touch up
Didn't bother to use newspaper and masking tape to cover the areas to prevent the paint as this is not the first time I am doing it hence I trust my painting skills =)
Use the medium size brush to coat the base and paint the main layer and use the small tip brush to touch up the corners and unpainted area. Leave every layer to dry for at least 10 mins before applying the next layer.
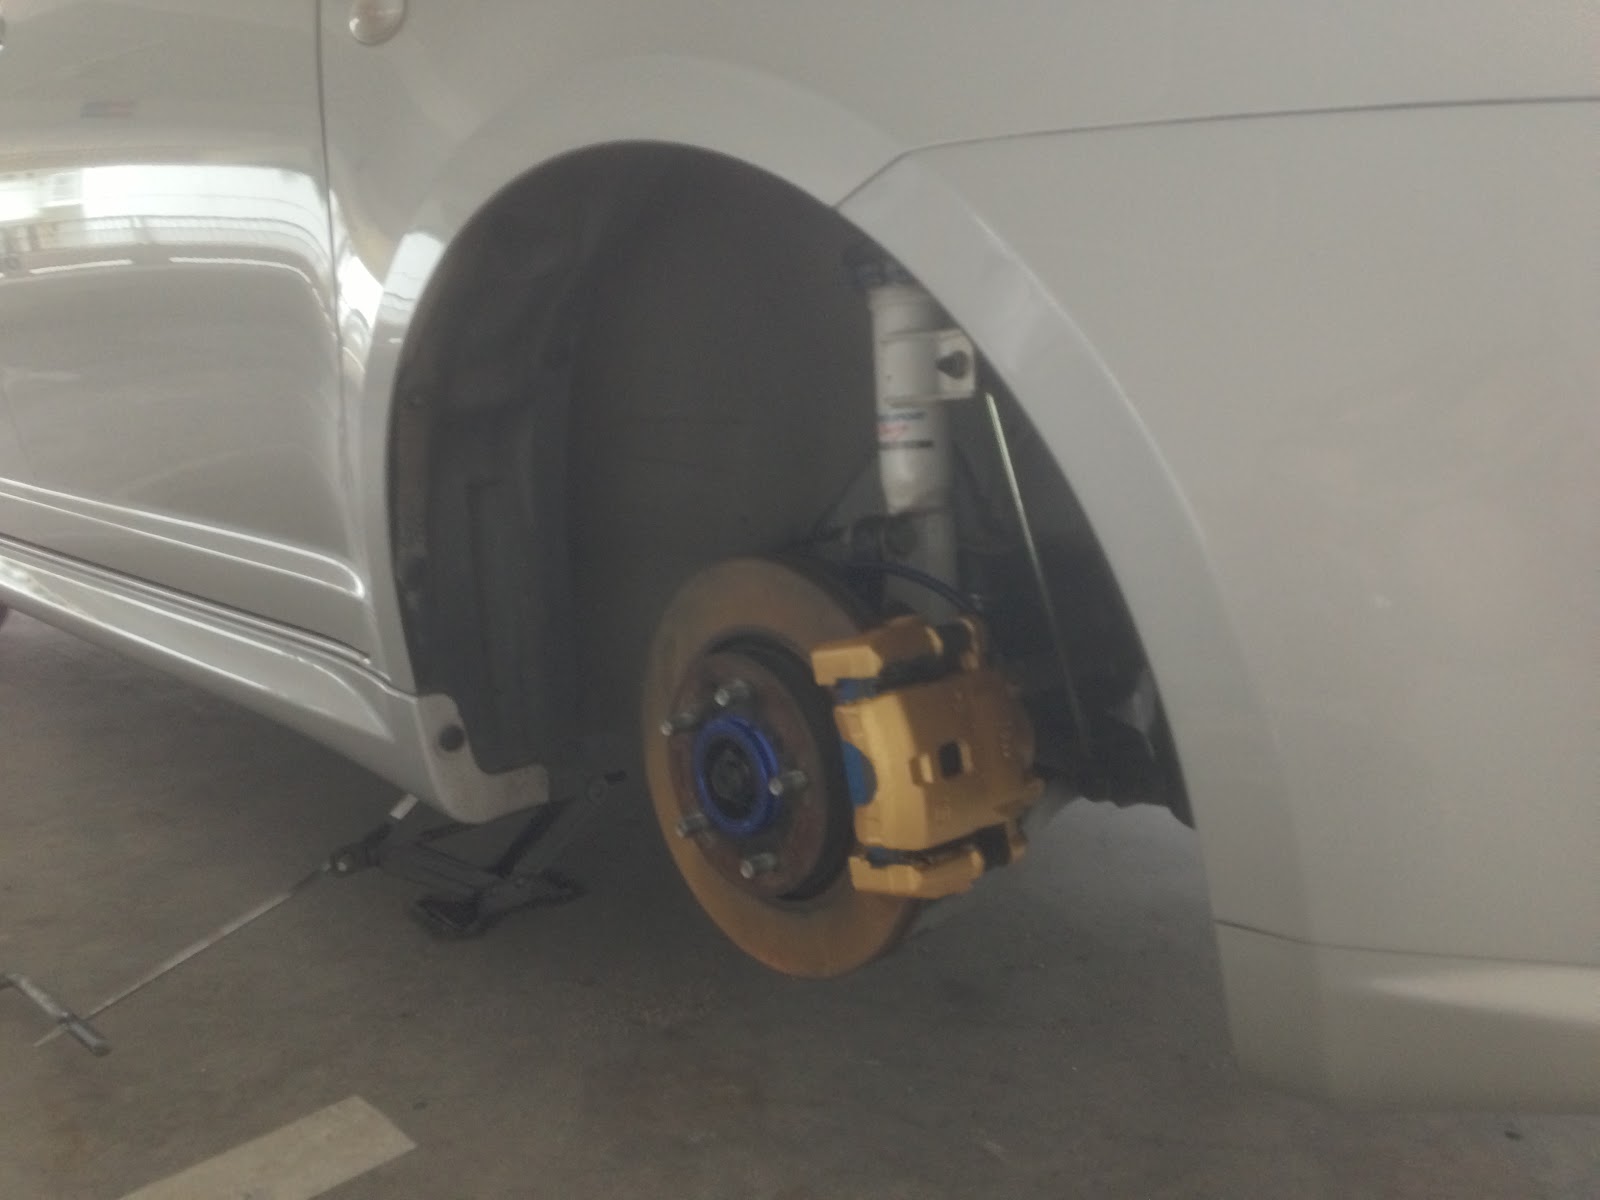
Step 4: Leave it to dry (minimum of 30mins) before installing back the rims
Da Dar! new colour for front brake calipers =)
Install rims and hand tighten lug nuts before lowering the car.
Remember to tighten the lug nuts with strength and in a Star shape direction.
Time for the rear calipers *tired*
Apply the same steps for the rear as well
Wrong demonstration. A wheel choke should be placed at the front RHS wheel for safety purpose =)
wash wash wash
Continue to wash wash wash and dry dry dry
then paint paint paint
Happy with end result
=)
My first time - coming soon, stay tune =P


Friday, October 26, 2012

Trying new functions for iPhone 5

Here's some pictures I took with my new iPhone 5 via the Panorama camera =)


To catch a glimpse of the sun set


Sunday, October 21, 2012

Dress up with moreeee stickerssssss

Car washing day with Justin and MK at our regular Yishun MSCP...
After car wash, it's stickers time!! LOL
Love these designs
I am not!
Like real only

Thursday, October 18, 2012

Camber and Alignment

Went to Kenny's Alignment today. Change a new pair of front camber bolt there as the previous RRP camber bolt only allows maximum of -1.4 degree.
Camber: F-2.3 degree R-2 degree, Height: F 1finger R 0finger
Camber bolt $100, Alignment $50, Waiting time 30mins, Friendly & good service
Total damage: $150 cash only

Tuesday, October 16, 2012

Carbing Competition Shift Knob

Bought this used shift knob from SCSG at a fraction price off brand new.
The weight is lighter than my previous one but it doesn't really matters to me.
Click here for more information on this shift knob.

Monday, October 15, 2012

Rear tyres rubbing fenders

The rear tyres are rubbing the fenders on this current set up:
Rim: R.TE37 15" X 7jj offset +35
Tyre: Yokohama Advan Neova AD08 195/55
Suspension: Suzuki Sport Circuit Stroke lower to Front 1 finger allowance & Rear 0 finger allowance
Camber: Front -2.5 Rear -2

No choice, I am poisoned by the HellaFlush culture hence I wanna slam my ride as low as I can to join the Slammed Society Japan =)

The workshop helps to grind the rear finder but I find that it can go further.
Hence I filed the fender more with the help of some friends in a MSCP near my house.

Borrow additional jack from my friend to jack the rear up
Removing the rear rims
Took around 5mins to remove both rims
You will need a big file, small file, some sandpapers and a pail of water
Serious man at work
Substitution needed
Manage to grind and file off 1/3 of it
No more rubbing of fenders YAY!! =)

We go further by drilling holes in between the honey comb grill on the rear diffuser.
This is to prevent parachute effect
Next project will be cutting my rear bumpers!!
Like the red and white swift sports shown below...(Photo grabbed off SCSG forum)
I personally know the owners. Very nice and fast ride they have.